dslr/mirrorless camera

a longer lens is best, around 70mm-150mm is ideal.
kit zoom lens (right) works too, just try to use the longest focal length you can within your room.


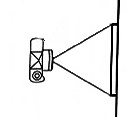
wider lens angle=more distortion
longer lens angle=less distortion
use raw settings if you can
think about coverage. make a shot list. have a plan.
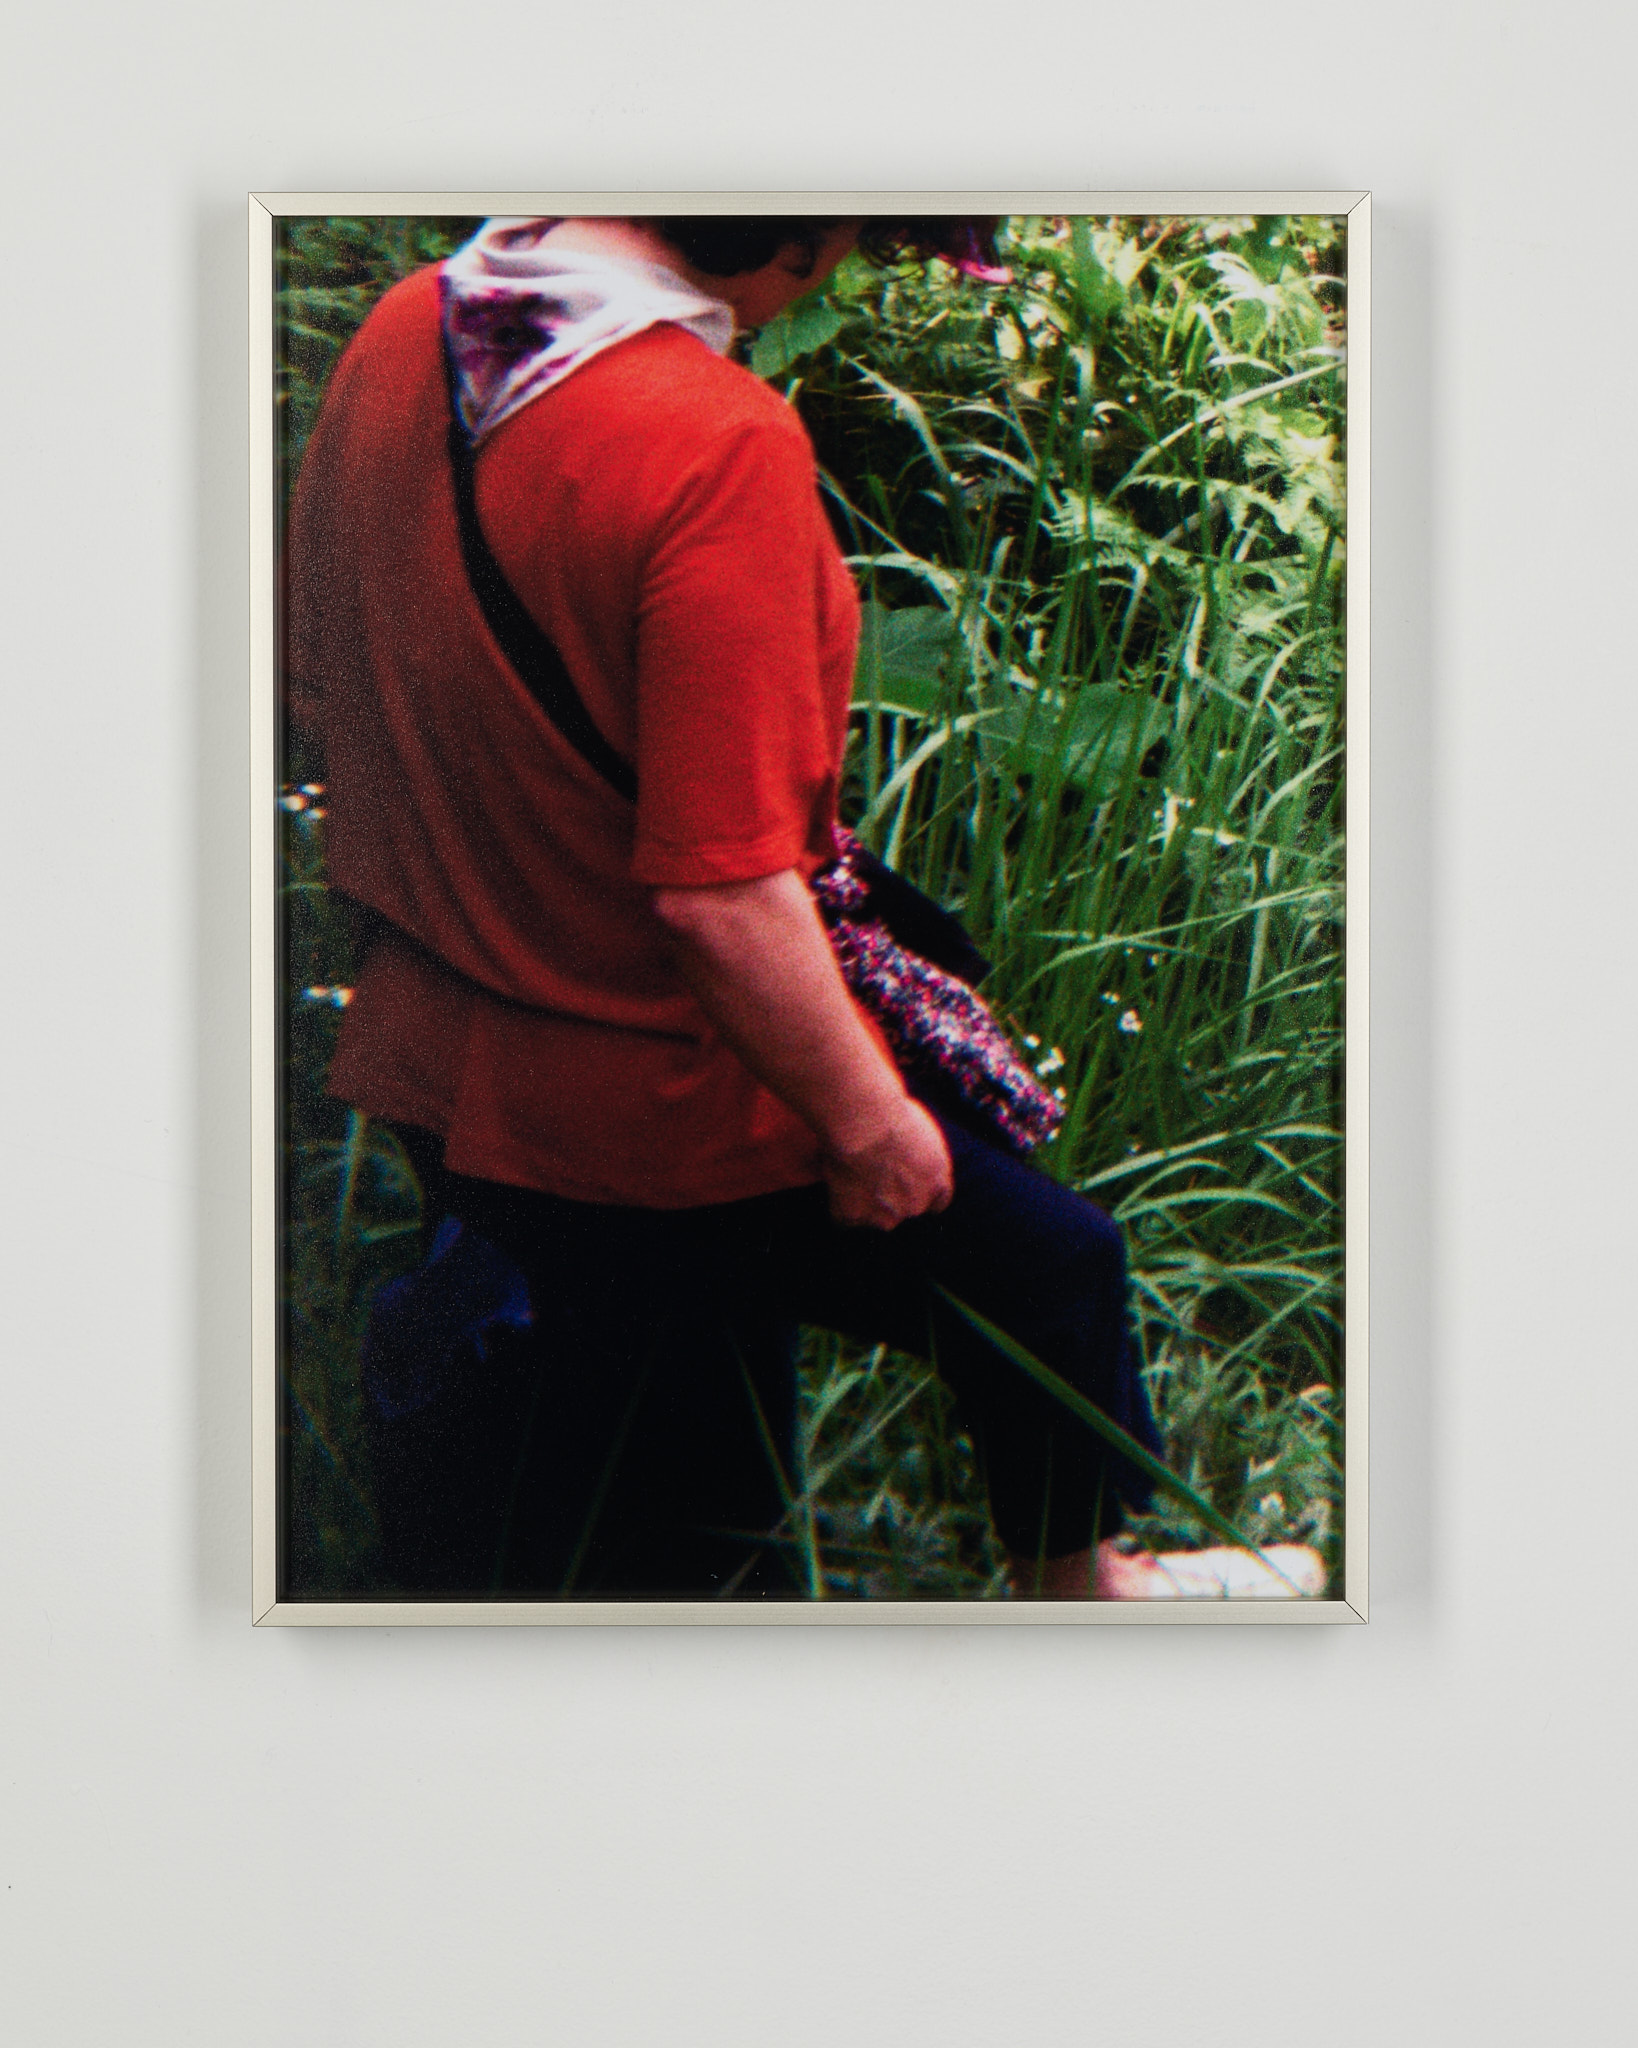
start with indivudual images of artwork, and then work your way wider and wider to complete coverage of the space.


use a tripod!
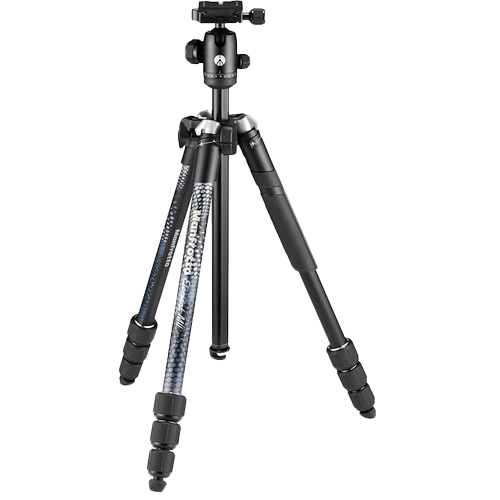 this one is relatively inexpensive and decent.
get everything level and square
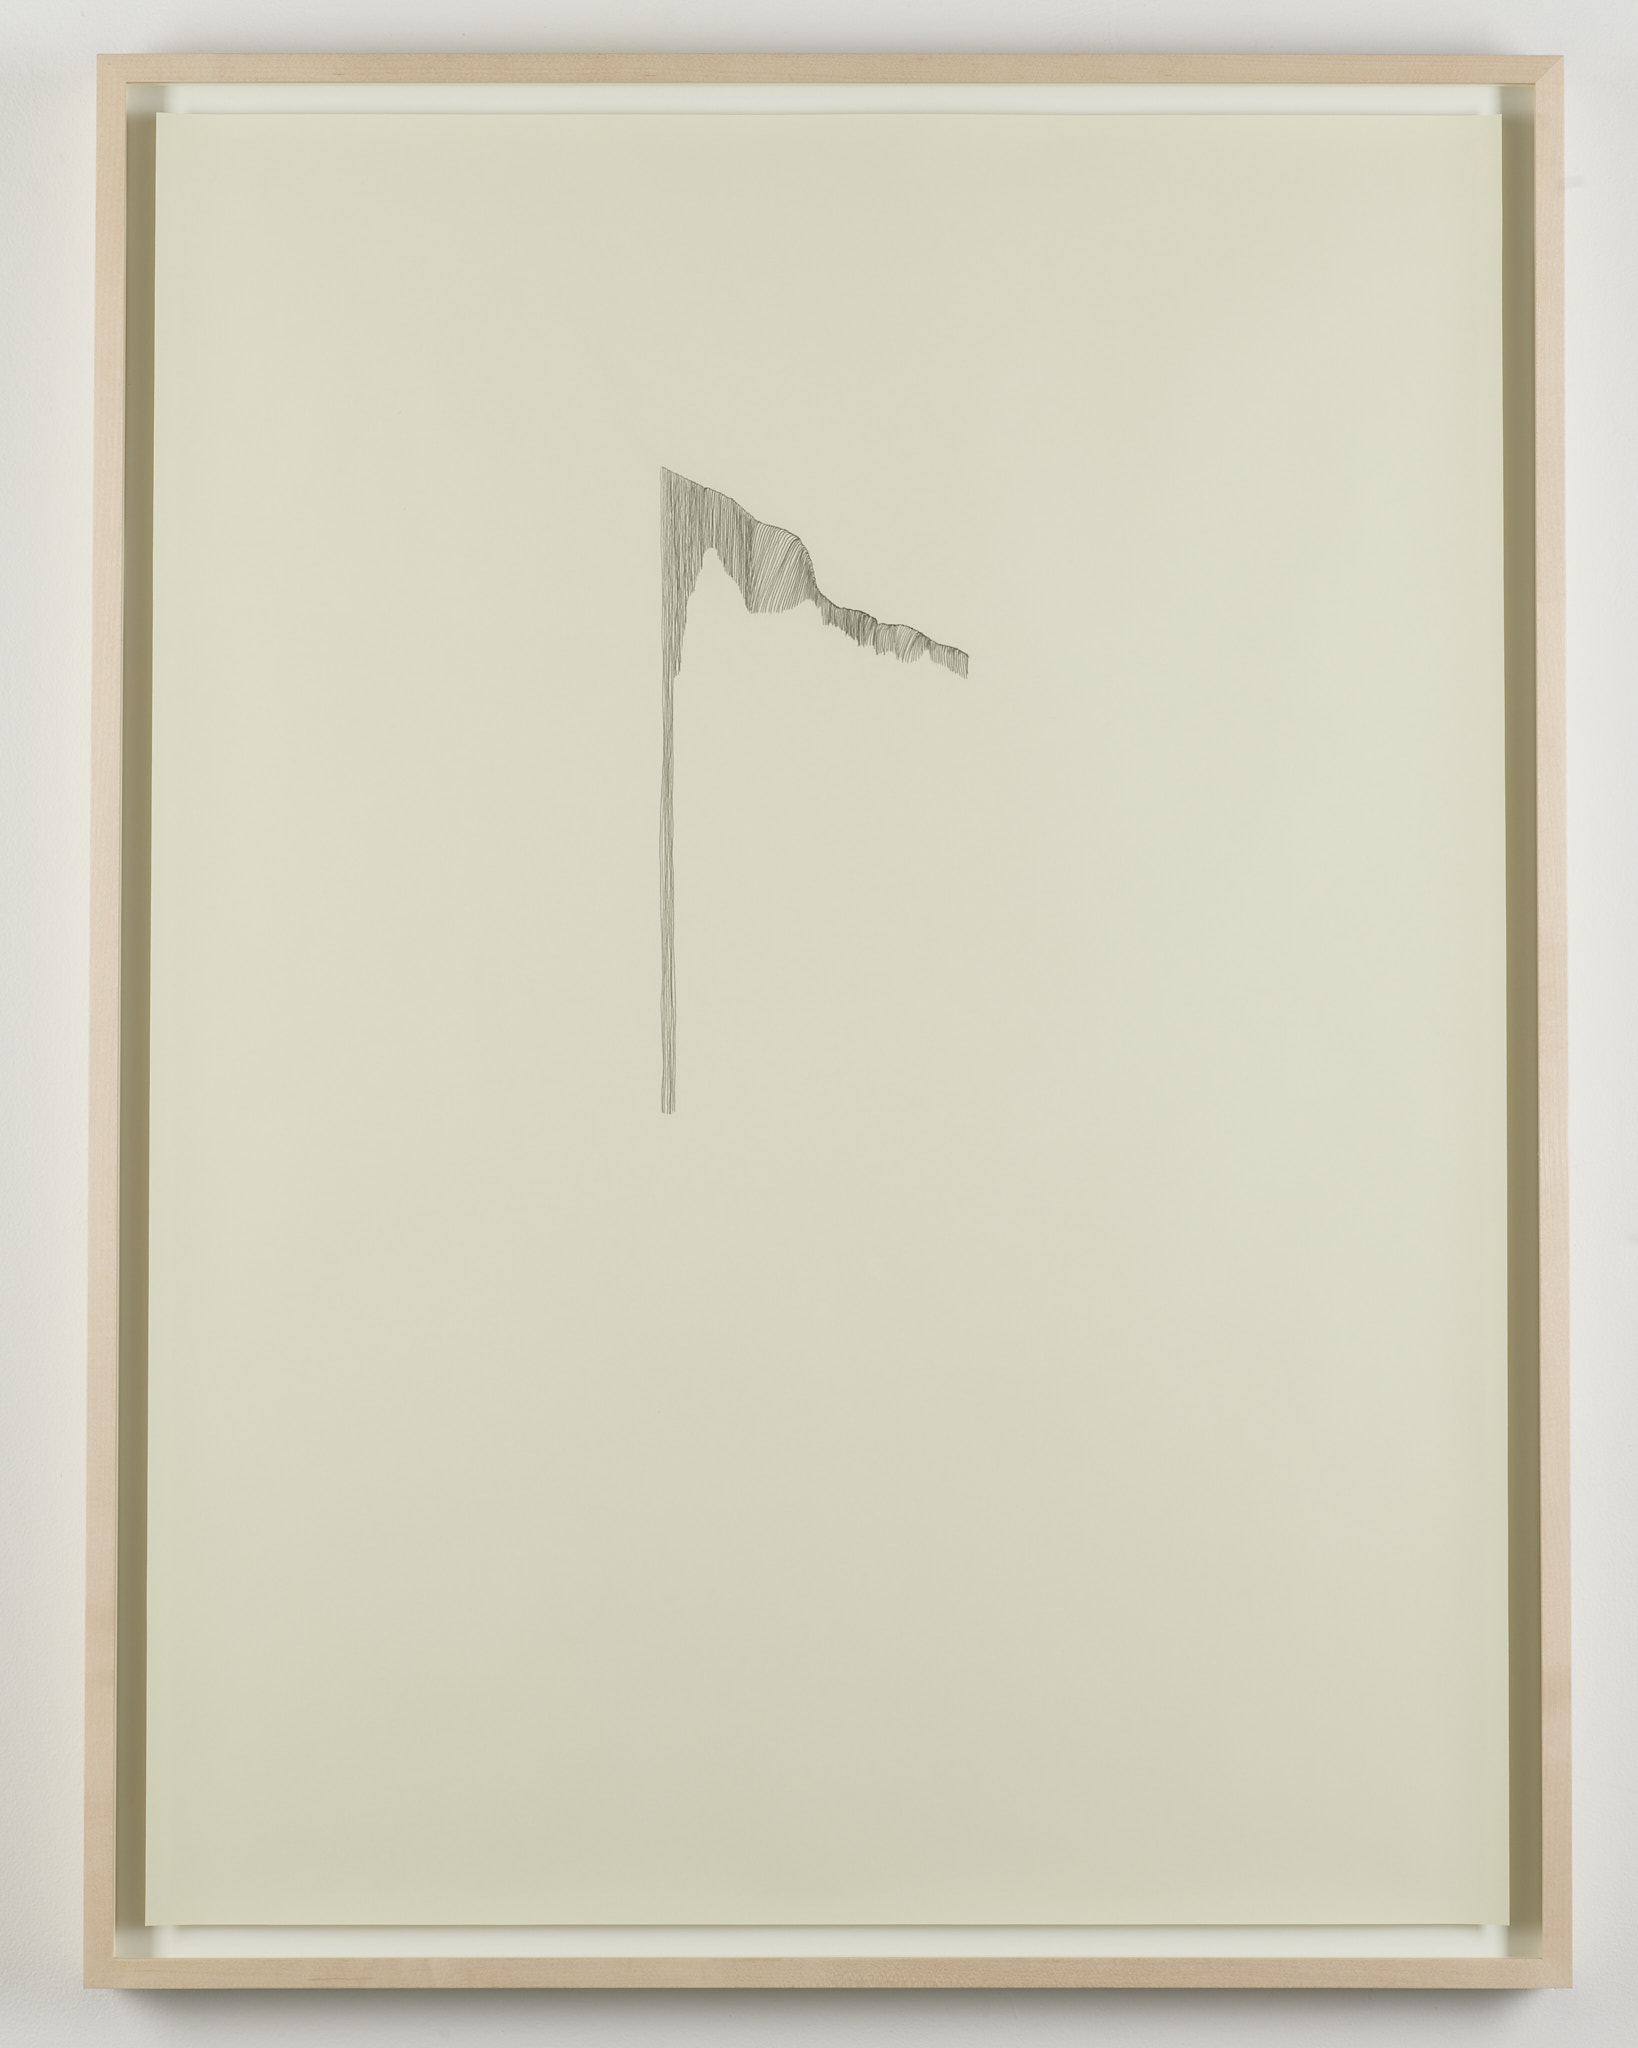
frame the artwork to be documented and try to get the lens of the camera perfectly perpendicular to the artwork.
level the camera using the tripod.
some cameras have built in levels but these hot shoe levels are useful!

frame somewhat loosely, leaving space around the edges to allow room for cropping, straightening and perspective correction.


guide to cropping/straightening and correcting perspective in Adobe Lightroom
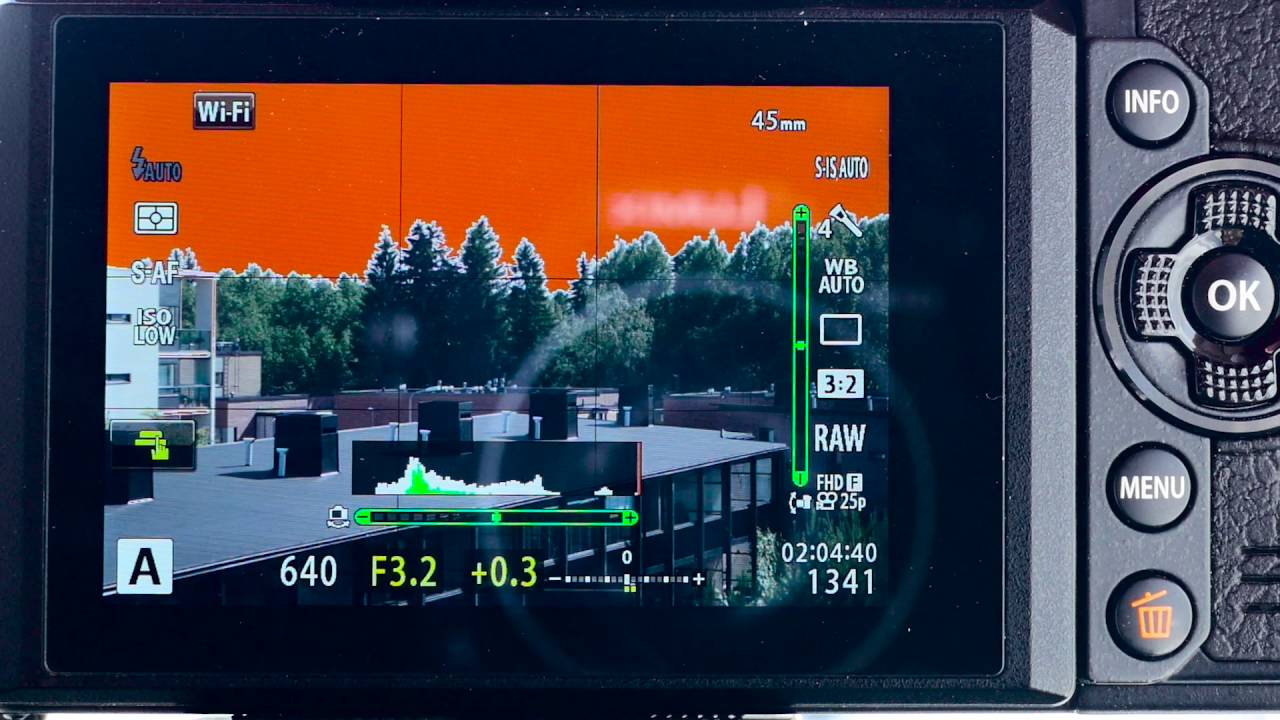
aperture. shutter speed. iso.
aperture- how big the opening is to let light in.
smaller number (f/2 for example)=more open, more light, less depth of field
larger number (f/16 for example)=more closed less light, more depth of field.
for photographing artwork try to use an aperture around two stops more open from the smallest aperture setting (highest number)
if your lens goes to f/16, open up to f/9 etc.
this will ensure maximum sharpness, avoid diffraction, and allow all elements in the image to be in focus.
since aperture is fixed, to control exposure we will use shutter speed and iso.
shutter speed is amount of time the sensor is exposed to light.
iso is how sensitive the sensor is. The higher the iso, the more light the sensor can see, but at the expense of noise.
try to use as low of an iso possible.
use in camera exposure meter and tools and expose just a little under to avoid clipping highlights.
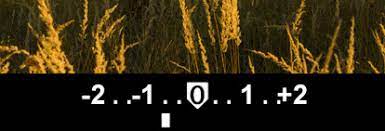
don’t use shutter speeds over 1/2 second. once you get to 1/2 second if the image is too bright, adjust the iso.
if you can, use a color checker or similar device.
 link to purchase
make sure to place the color checker in the same lighting as the artwork.

follow the manufacturer’s instructions to create and apply a color profile.
if you don’t use a color checker use a grey card or try a large section of grey/white in the wall around the photo.
useful video on how to use eyedropper tool to correct white balance in lightroom.